Table of contents
- 1. Understanding the Setup Process
- 2. Preparing Your Mobile Environment
- 3. Downloading the Official Application
- 4. Creating Your Secure Account
- 5. Navigating the Mobile Interface
- 6. Connecting to the Optimal Server
- 7. Configuring Advanced Security Settings
- 8. Managing Split Tunneling Features
- 9. Customizing Connection Protocols
- 10. Optimizing Battery Consumption
- 11. Bypassing Network Restrictions
- 12. Troubleshooting Common Connection Issues
- 13. Frequently Asked Questions
1. Understanding the Setup Process
ProtonVPN on Android provides an effective method to secure your mobile network traffic and protect your personal data from external observation.
This detailed process requires specific actions to ensure the software functions correctly across different mobile environments.
Many individuals miss crucial security features buried in the settings menus or struggle with initial configurations.
This guide walks you through the exact process of acquiring the official application, establishing a secure profile, and navigating the interface.
You will learn how to select optimal server locations and activate advanced protections like network blocking and application exclusions to maintain a stable and secure connection at all times.
2. Preparing Your Mobile Environment
Before installing any privacy software, you should ensure your mobile operating system is fully updated.
Operating system updates often include critical security patches that interact directly with network components.
Navigate to your system settings and check for available updates.
Installing these updates prevents compatibility issues later in the process.
You also need to verify that your device has sufficient storage space available for the application cache and future updates.
A cluttered system can sometimes interfere with network operations and background processes.
Securing your device beforehand also means reviewing your current network settings.
If you have custom DNS configurations active on your phone, you might want to revert them to automatic settings temporarily.
Privacy applications handle DNS requests internally to prevent leaks.
Conflicting network rules can prevent the secure tunnel from establishing properly.
Taking a few minutes to clean up your network profile ensures a smooth installation phase.
3. Downloading the Official Application
Getting the software from an official source guarantees you receive an untampered version.
You have two primary methods for acquiring the installation files, depending on your privacy preferences and device ecosystem.
3.1. Utilizing the Official Store
Open the Google Play Store and tap the search bar at the top of your screen.
Type the name of the service and look for the result published by Proton AG.
This specific publisher name confirms the authenticity of the application.
Tap the install button and wait for the system to complete the download.
The store automatically handles the installation and places an icon on your home screen or application drawer.

Proton VPN
Proton VPN combines Swiss privacy law, open source audited apps, and Secure Core routing with strong speeds and a genuinely usable free tier.
- Genuinely unlimited free VPN plan
- Fully open source client apps
- Monthly pricing sits above rivals
- Free plan limited to few countries
This method ensures you receive automatic updates in the background.
3.2. Sourcing the Direct Package
Some users prefer to avoid commercial storefronts entirely for privacy reasons.
You can obtain the Android application package directly from the official website.
Open your mobile browser and navigate to the downloads section of the main site.
Download the package file to your local storage.
You must grant your browser permission to install unknown applications.
Once you enable this permission, open the downloaded file to begin the installation.
Remember to revoke the installation permission afterward to maintain your system security.
4. Creating Your Secure Account
You need a registered profile to access the server network.
Launch the application and select the option to create a new profile.
The system asks for an email address and a secure password.
You should use a unique password that you do not use for any other service.
Strong credentials protect your account from unauthorized access.
The service offers various subscription tiers including a free option with basic access.
Select the tier that matches your required bandwidth and server location needs.
After confirming your email address, you can log in to the application using your new credentials.
The initial login process downloads the latest server configurations to your device, ensuring you have the most current list of available locations.
5. Navigating the Mobile Interface
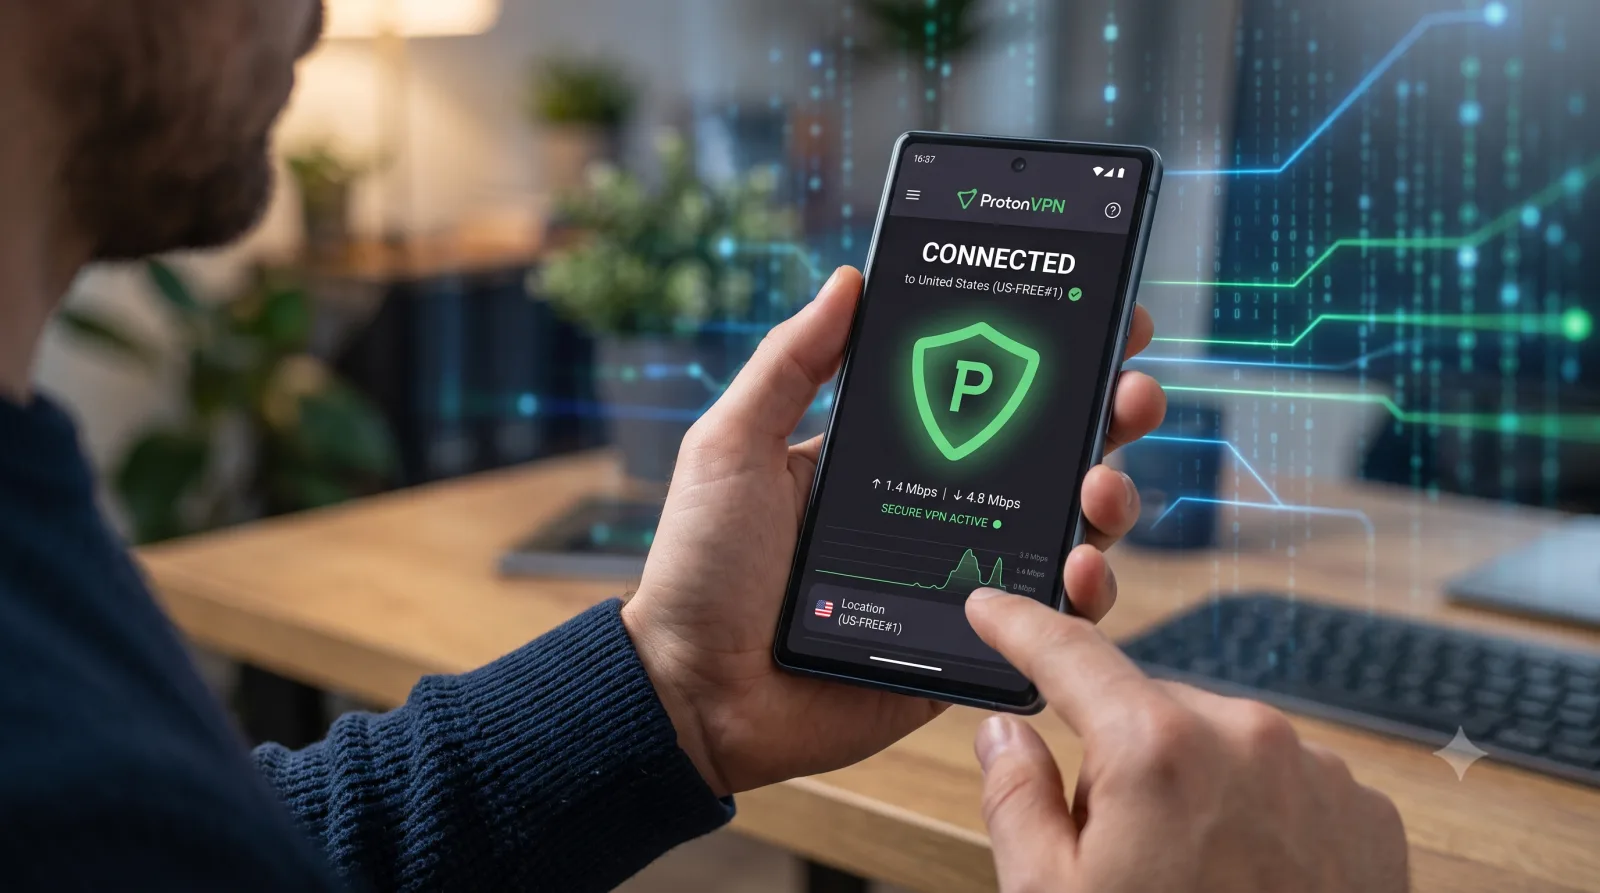
The primary screen presents a map view and a list of available countries.
The interface displays your current connection status prominently at the top of the screen.
A quick connect button sits centrally, allowing instant access to the fastest available server based on your current physical location.
The bottom navigation bar houses tabs for different functions.
You can access the country list, map view, saved profiles, and settings through these tabs.
Spending a few minutes exploring these menus helps you understand the available options before you initiate a connection.
Familiarizing yourself with the layout reduces confusion when you need to make rapid adjustments to your connection state.
6. Connecting to the Optimal Server
Establishing your first connection requires selecting a specific location.
You can scroll through the country list and tap a flag to reveal the individual servers available in that region.
Servers display a load indicator showing how many users are currently connected.
Choosing a server with a lower load percentage typically results in better speeds and lower latency.
Tap the connect button next to your chosen server.
The operating system will prompt you to accept a connection request.
This standard security feature requires your explicit approval before any software can route your network traffic.
Tap accept to finalize the connection.
The interface will turn green and display a timer showing your current session duration.
7. Configuring Advanced Security Settings
The default configuration provides strong protection, but the application includes several advanced features that you can tailor to your specific requirements.
Access the settings menu to locate these core features:
Secure Core routing for enhanced anonymity
NetShield protection against malicious domains
Kill Switch functionality for accidental drops
Alternative Routing for restrictive networks
3.5VPNProton VPN
3.5Proton VPN combines Swiss privacy law, open source audited apps, and Secure Core routing with strong speeds and a genuinely usable free tier.
- Genuinely unlimited free VPN plan
- Fully open source client apps
- Monthly pricing sits above rivals
- Free plan limited to few countries
Custom DNS protocol integration
7.1. Enabling Secure Core Routing
This feature routes your traffic through privacy friendly countries before reaching your final destination.
This double routing prevents network observers from matching your origin with your destination.
Open the settings menu and locate the toggle switch for this feature.
Activating it may slightly reduce your connection speed due to the increased distance the data travels.
This tradeoff is generally acceptable for individuals requiring maximum anonymity against sophisticated surveillance.
7.2. Managing NetShield Protection
This function blocks advertisements, tracking scripts, and malicious domains at the DNS level.
You can choose to block only malware or expand the protection to include all intrusive elements.
Navigate to the features section in the settings menu to adjust this preference.
Activating the full protection mode significantly cleans up your web browsing experience and reduces unnecessary mobile data consumption by stopping media heavy advertisements from loading.
7.3. Activating the Kill Switch
Network drops happen occasionally when moving between cellular towers or wireless networks.
This feature immediately halts all internet traffic if the encrypted tunnel fails unexpectedly.
The settings menu contains a specific section for this function.
You can set it to block all traffic without an active connection or only activate it during accidental drops.
Activating this ensures your real IP address never leaks during temporary network instability.
8. Managing Split Tunneling Features
Certain applications like banking software or local streaming services may not function properly through an encrypted tunnel.
Split tunneling allows you to exclude specific applications from the secure connection.
Open the settings and select the split tunneling option.
You will see a list of all installed software on your device.
Select the applications you want to route through your standard internet connection.
The chosen applications will bypass the tunnel completely while the rest of your system remains protected.
This selective routing solves most compatibility problems without requiring you to disconnect the entire service.
9. Customizing Connection Protocols
The software supports multiple transmission methods for moving data across the network.
The default setting automatically selects the best option based on your current network conditions.
However, you can manually select a specific protocol in the settings menu to optimize performance.
WireGuard generally provides the fastest speeds and uses less battery power, making it ideal for mobile devices.
OpenVPN offers a highly reliable alternative if you encounter restrictive networks that block modern protocols.
Testing different protocols can help you find the optimal balance between speed and reliability for your specific environment.
10. Optimizing Battery Consumption
Running continuous network encryption requires processing power which naturally consumes battery life.
You can mitigate this impact through several system level adjustments.
Android sometimes terminates background processes to save power, which can disconnect your secure tunnel entirely.
Go to your device settings, find the battery optimization menu, and locate the application.
Set the software to remain active and remove any background restrictions.
Using the WireGuard protocol also reduces processor load and extends your daily battery capacity.
These small adjustments ensure the service runs reliably without draining your device prematurely.
11. Bypassing Network Restrictions
Some public networks and mobile carriers actively attempt to block encrypted connections.
If you find yourself on a network that restricts access, the application provides built in mechanisms to bypass these barriers.
Enable the alternative routing feature in the settings menu.
This function masks your traffic to appear as standard web browsing data, allowing it to pass through strict firewalls undetected.
Combined with the stealth protocol options, this ensures you maintain access to secure communications regardless of local network policies.
Proton VPN
Proton VPN combines Swiss privacy law, open source audited apps, and Secure Core routing with strong speeds and a genuinely usable free tier.
- Genuinely unlimited free VPN plan
- Fully open source client apps
- Monthly pricing sits above rivals
- Free plan limited to few countries
12. Troubleshooting Common Connection Issues
Users occasionally face difficulties establishing or maintaining a stable connection.
The most common solution involves simply disconnecting and selecting a different server in the same region.
Server maintenance or sudden traffic spikes can cause temporary instability on specific nodes.
If the application refuses to connect entirely, changing the active protocol often resolves the issue.
Network providers sometimes block specific ports used by default protocols.
Clearing the application cache in your system settings can fix persistent interface glitches or login problems.
Restarting your device completely serves as a reliable final step for clearing transient memory issues.
13. Frequently Asked Questions
Does encrypting my connection slow down my internet speed?
Can I use the service for free indefinitely?
Why do some banking applications block my access?
Is it necessary to use the service on cellular data?
Cellular networks provide basic encryption, but your carrier can still see your DNS requests and browsing history.
Using the service on cellular data prevents your provider from logging your internet activity.
How do I completely remove the software from my device?
Navigate to your system settings, select the applications menu, find the service, and tap uninstall.
You should also delete the application data and cache beforehand to ensure no residual files remain on your storage.