

How to Install Windows 11 Without a Microsoft Account in 2026
By Noura Mint Ely · November 12, 2026
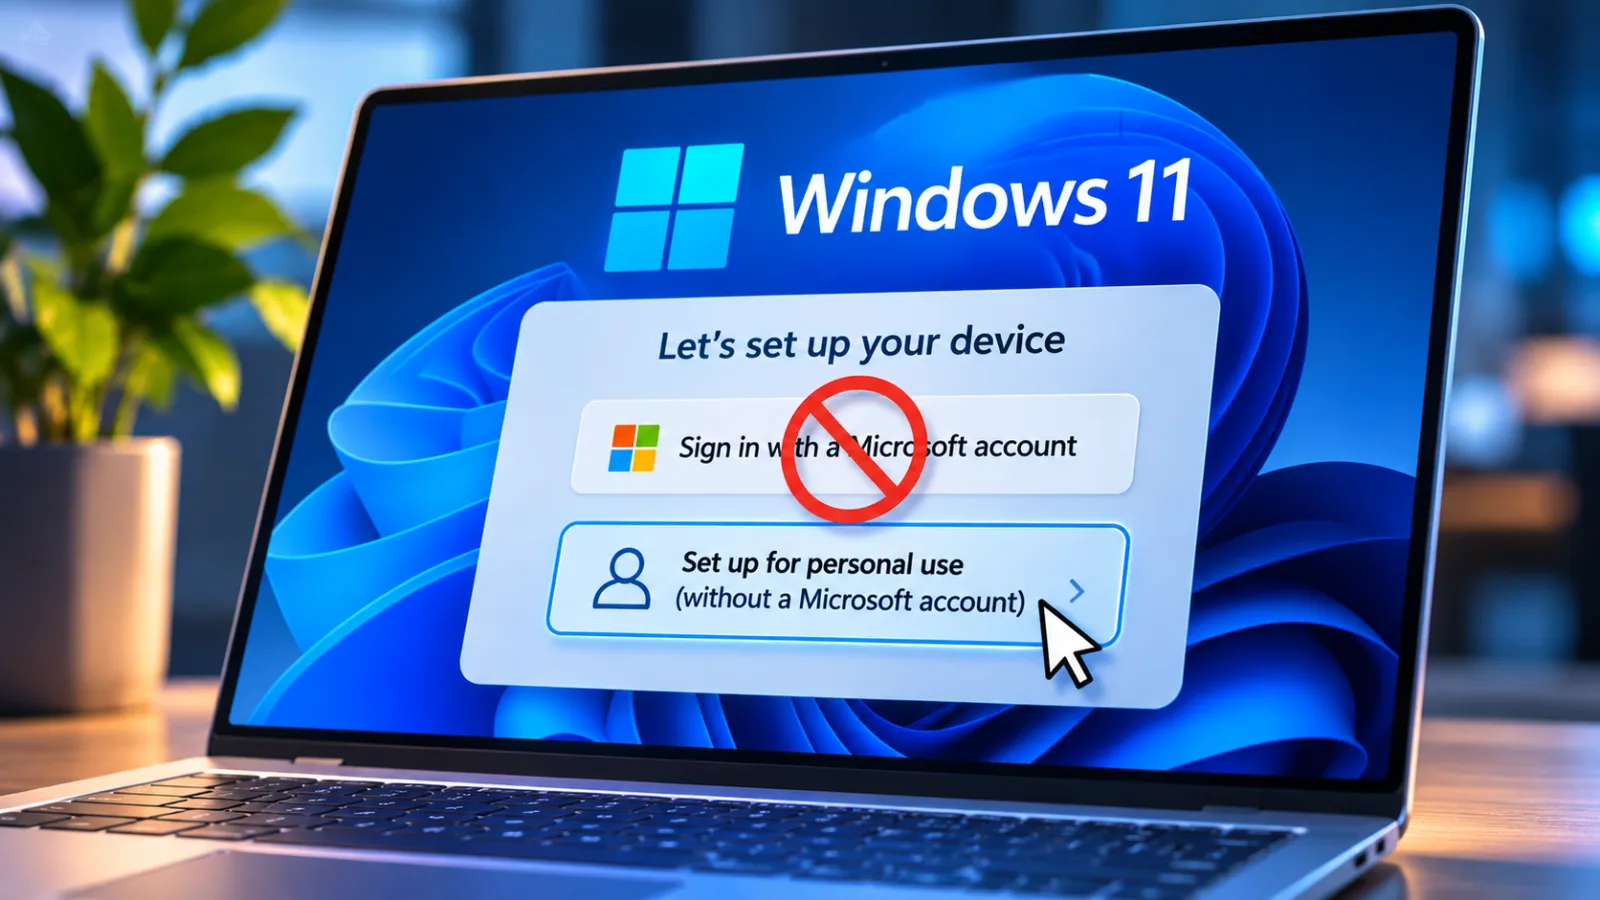
Table of contents
Windows 11 can be installed without signing in to a Microsoft account by creating a local user during the initial setup process.
The most practical method for a clean installation is Rufus, which modifies the installation media to remove the online account requirement.
Windows 11 Pro also provides a local account option through its work or school setup path.
If you want to install Windows 11 without a Microsoft account, the method you choose should account for your edition and installation build, because Microsoft has progressively restricted older workarounds.
Understanding Local Accounts
A local Windows account stores its credentials and user profile on the computer rather than relying on a Microsoft account for Windows sign in.
It allows you to access the desktop, install applications, manage files, and use Windows without connecting your login to Microsoft's cloud services.
Microsoft confirms that a local account does not require an internet connection to sign in and remains specific to the device.
This distinction matters when setting up computers for personal use, technical testing, company deployment, or users who prefer independent credentials.
A Microsoft account provides access to services such as OneDrive, Outlook, Microsoft Store, and settings synchronization across devices.
A local account does not automatically provide those integrations, although you can still sign in to individual Microsoft applications when necessary.
You can also change from a local account to a Microsoft account later through Settings, under Accounts and Your Info.
Therefore, choosing a local account during installation does not permanently prevent you from using Microsoft's online services.
Choosing Your Installation Method
The correct approach depends primarily on whether you have Windows 11 Home or Pro and whether you are performing a clean installation.
Rufus is particularly useful when preparing a bootable USB drive because it places the required configuration directly into the installation media.
Windows 11 Pro has an additional setup option that allows local account creation without modifying the installation files.
Advanced users and IT administrators can also use Microsoft's unattended installation framework.
The following options provide a practical starting point:
Rufus: Suitable for clean installations of Windows 11 Home and Pro using customized installation media.
Domain Join: Available through the Windows 11 Pro setup process, where you can create a local account.
Offline OOBE: Uses an internet disconnection and, on compatible installation builds, the BypassNRO command.
Unattended installation: Uses an XML answer file to automate account creation and other setup settings.
For most individual users, Rufus is the preferred option because it reduces dependence on commands that Microsoft may remove or change in future releases.
Creating Installation Media
Rufus is a free utility that creates bootable USB installation drives from Windows ISO files.
Its Windows customization options include removing the requirement for an online Microsoft account.
The application also provides options for configuring local accounts and adjusting certain hardware requirement checks.
You should obtain the Windows ISO from Microsoft's official download service and download Rufus from its official website.
Preparing Rufus
Before starting, prepare a USB flash drive with at least 8 GB of capacity.
The process erases the existing contents of that drive, so copy any important files elsewhere.
You will also need a working Windows computer to prepare the installation media and an internet connection to obtain the required downloads.
Follow these steps:
Download the official Windows 11 ISO from Microsoft's software download website.
Download and open Rufus from its official website.
Insert the USB flash drive into the computer.
 4.6Project Management
Housecall Pro
4.6Housecall Pro is field service management software for contractors who need to book jobs, dispatch technicians, prepare estimates and collect payments.
- Scheduling and dispatch share records
- Estimates convert into customer invoices
- Advanced routing requires higher subscription
- Additional users increase subscription costs
Select the correct USB device under Device in Rufus.
Click Select and locate the Windows 11 ISO file.
Choose Standard Windows Partition as the image option.
Select GPT as the partition scheme and UEFI as the target system.
Click Start to open the Windows customization options.
Enable Remove requirement for an online Microsoft account.
Optionally enable Create a local account with username and enter your preferred username.
Confirm the customization settings and allow Rufus to prepare the USB drive.
Once Rufus finishes, the installation media is ready.
The option to remove hardware requirements is separate from the Microsoft account setting.
Avoid enabling hardware bypasses without a specific reason, because installing Windows 11 on unsupported hardware can affect compatibility and support.
Installing From USB
After preparing the USB drive, connect it to the computer where Windows 11 will be installed.
Restart the machine and open its boot menu, usually through a manufacturer specific key such as F12, F11, Esc, or F8.
Select the USB drive and follow the Windows installation instructions.
The exact boot key depends on the computer manufacturer and motherboard.
Select the appropriate Windows edition, language, keyboard layout, and installation destination.
If you choose a clean installation and delete existing partitions, all data stored on those partitions will be lost.
After Windows copies its installation files and restarts, continue through the Out of Box Experience, commonly called OOBE.
The customized installation media should allow you to create a local account without the usual Microsoft account sign in requirement.
Installing Windows 11 Home
Windows 11 Home presents the greatest challenge for users who want an offline local account because Microsoft's standard first run experience requires an internet connection and a Microsoft account.
The company documents this requirement in its Windows 11 system requirements.
However, some installation methods can still provide an alternative setup route.
Using BypassNRO
The traditional OOBE\BYPASSNRO command has been widely used to enable offline installation.
Microsoft announced its removal from an Insider Preview build on March 28, 2025, explaining that the change was intended to ensure users completed setup with internet connectivity and a Microsoft account.
However, its behavior can differ between preview builds and publicly released installation media.
If your installation build still supports the command, follow these steps:
Start Windows 11 installation and continue until the country or region selection screen appears.
Press Shift + F10 to open Command Prompt.
Enter OOBE\BYPASSNRO and press Enter.
Allow the computer to restart.
Disconnect the Ethernet cable or disable the wireless connection.
Continue through the region and keyboard configuration screens.
Select I don't have Internet when the network requirement appears.
Choose Continue with limited setup if Windows displays that option.
Enter a username and create a password for the local account.
If Windows reports that the command cannot be found, the installation image may no longer include the required script.
Do not assume that the same command will work on every Windows 11 24H2, 25H2, or newer installation.
Microsoft has changed OOBE behavior over time, and older tutorials frequently fail to distinguish public release images from Insider Preview builds.
Disconnecting From The Network
Disconnecting the computer from the internet can expose alternative setup paths on compatible Windows installation builds.
This is why the offline method has historically worked alongside BypassNRO.
Housecall Pro
Housecall Pro is field service management software for contractors who need to book jobs, dispatch technicians, prepare estimates and collect payments.
- Scheduling and dispatch share records
- Estimates convert into customer invoices
- Advanced routing requires higher subscription
- Additional users increase subscription costs
However, simply disconnecting the network does not guarantee that every current Windows 11 Home installation will offer a local account option.
The result depends on the setup version and the available OOBE configuration.
For this reason, Rufus is generally a more predictable choice for users preparing a fresh installation.
If you are working with an existing installation or an image that does not support the older command, avoid repeatedly attempting outdated instructions.
Use installation media that has been prepared for local account creation instead.
Installing Windows 11 Pro
Windows 11 Pro offers another route through its initial configuration process.
The setup includes a work or school configuration option that can lead to local account creation through the Domain Join instead selection.
This approach does not require Rufus or a customized Windows ISO.
The process is particularly useful for technicians preparing professional computers and users who want to avoid associating their personal Microsoft accounts with devices they configure for other people.
Follow the standard Windows installation process until the initial account configuration screens appear.
Using Domain Join
When Windows 11 Pro reaches the account configuration stage, follow these steps:
Select Set up for work or school.
Click Next.
Open Sign-in options.
Select Domain join instead.
Enter the username for the local Windows account.
Create a password and configure the requested security information.
Complete the remaining privacy and device configuration screens.
Despite its name, Domain join instead does not mean that you must connect the computer to an Active Directory domain.
It provides an alternative path for creating a local account.
The computer can subsequently join an organization domain or Microsoft Entra ID if the organization's IT requirements call for centralized identity management.
This option is specific to the Pro edition and should not be presented as a universal solution for Windows 11 Home.
If the option is missing, check the edition and installation build before attempting other methods.
Automating Account Creation
IT administrators who install Windows on multiple computers can use Microsoft's unattended installation framework.
This method relies on an answer file that supplies configuration information during Windows Setup.
It can automate regional settings, user creation, and selected OOBE screens, reducing repetitive manual configuration across several machines.
Microsoft documents the relevant settings through Windows System Image Manager and the Windows unattended setup reference.
Two components are particularly relevant: HideOnlineAccountScreens and UserAccounts.
The first controls whether the online account sign in screen appears during OOBE, while the second specifies local accounts and other account information to create.
Using An Answer File
An Autounattend.xml file can be prepared with Windows System Image Manager, which is included in the Windows Assessment and Deployment Kit.
The file is placed in the root directory of the installation media so Windows Setup can detect and process its configuration.
The process generally involves these tasks:
Configure regional settings: Specify the installation language, keyboard layout, and regional preferences.
Configure OOBE: Set HideOnlineAccountScreens to true where appropriate.
Create local users: Configure UserAccounts and LocalAccounts with the intended usernames and account groups.
Prepare installation media: Place the answer file in the correct location on the installation USB drive.
Test the deployment: Verify the configuration on a test computer before using it across multiple devices.
This method is particularly useful for computer maintenance companies, system integrators, and organizations that regularly prepare Windows workstations.
However, answer files can contain sensitive information, including account credentials.
Never leave an installation USB drive containing exposed passwords in an unsecured location.
Microsoft recommends using the documented unattended setup settings rather than the deprecated SkipMachineOOBE configuration.
Common Installation Problems
Most difficulties arise from using instructions intended for a different Windows build or edition.
Microsoft has changed the initial setup experience several times, which means that a command published in an older tutorial may no longer produce the same result.
Checking the installation version and selecting a compatible method should be the first troubleshooting step.
The following problems deserve particular attention:
Command not recognized: The installation image may no longer contain BypassNRO.
Use Rufus or a properly configured unattended installation instead.
No Domain Join option: Confirm that the installed edition is Windows 11 Pro rather than Home.
Internet requirement remains: Verify that Rufus was configured with the online account requirement removed and that the installation USB was created successfully.
4.6Project ManagementHousecall Pro
4.6Housecall Pro is field service management software for contractors who need to book jobs, dispatch technicians, prepare estimates and collect payments.
- Scheduling and dispatch share records
- Estimates convert into customer invoices
- Advanced routing requires higher subscription
- Additional users increase subscription costs
Incorrect Windows edition: Check that the selected edition matches the computer's license before proceeding.
USB installation fails: Verify the USB drive, ISO integrity, boot configuration, and UEFI compatibility.
Another important distinction concerns Windows activation.
Creating a local account does not activate Windows or provide a license.
A valid digital license or product key is still necessary.
Microsoft account sign in and Windows product activation are separate processes, so avoiding one does not remove the other requirement.
The most dependable approach is to prepare the installation media correctly before installing Windows, rather than relying on commands that may disappear in a future Windows update.
Managing Your Local Account
After installation, the local account becomes the primary identity used to sign in to Windows.
You should create a strong password and ensure that another administrator account or an appropriate recovery method is available.
Microsoft warns that forgetting a local account password can create recovery difficulties, particularly when no password reset disk has been prepared.
A local account also changes how certain Microsoft services operate.
OneDrive synchronization, Microsoft Store access, and cross device settings synchronization may require separate sign ins.
These services can still be used individually, but they do not automatically inherit the Windows local account credentials.
If you later decide to use a Microsoft account, open Settings, select Accounts, and choose Your Info.
Select Sign in with a Microsoft account instead and follow the instructions.
Windows will associate the existing profile with the Microsoft account through the account conversion process.
For professional environments, the decision should follow the organization's identity management policy.
A standalone local account may be appropriate for a test workstation, but company computers generally benefit from centralized authentication, access controls, and documented administration procedures.
Frequently Asked Questions
Can I install Windows 11 Home without a Microsoft account?
Does OOBE\BYPASSNRO still work in Windows 11?
Can I create a local account after installing Windows 11?
Does a local account prevent Windows updates?
Is Rufus safe for installing Windows 11 without an account?
Can I use a local account on a company computer?
Sources8
- Microsoft on Windows 11 Requirements
- Microsoft on Automating Windows OOBE
- Microsoft on Hiding Online Account Screens
- Microsoft on Local Windows Accounts
- Microsoft on Removing BypassNRO
- Pureinfotech on Windows 11 Local Installation
- Tom's Hardware on Windows 11 Local Accounts
- A BOT on Windows 11 Installation Methods
External pages are independent third-party sources. Desking App does not control or endorse their content and accepts no responsibility for it. Visiting them is at your own responsibility and risk.