

How to reclaim Windows 11 storage without deleting important files
By Evander Thorne · November 14, 2026
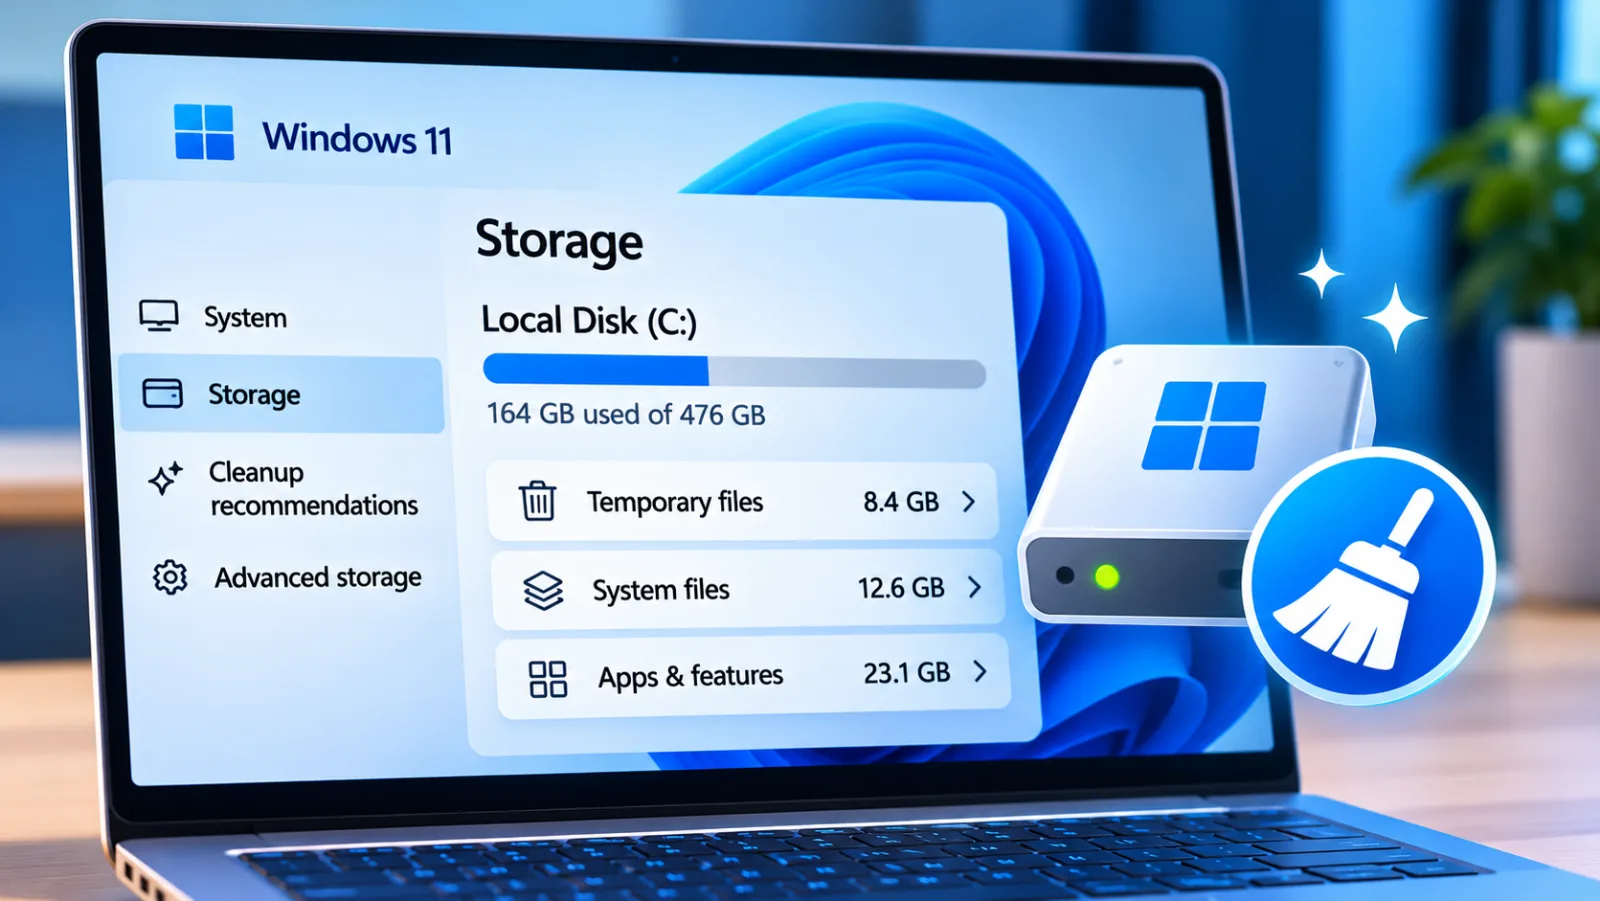
Table of contents
Windows 11 includes several tools that can reclaim disk space without requiring you to delete personal documents, photographs or work files.
The safest starting point is Settings, where Storage shows how much space applications, temporary files and other categories occupy.
From there, you can remove disposable data, move large files to another location, and make cloud stored files available without keeping full local copies.
The order matters: inspect first, clean low risk categories, then investigate unusually large system folders.
A full system drive can prevent Windows updates, application installations and routine operations from completing.
It can also leave too little room for temporary files created during updates or normal application use.
The objective is to recover space while preserving the files, settings and recovery options that matter.
Windows provides enough built in tools to handle most routine cleanup tasks, provided you understand what each category contains.
Find the storage pressure
Start by identifying which category consumes the most space.
Open Settings, select System, then Storage.
Windows calculates usage across categories such as Installed apps, Temporary files, Other, Documents, Pictures and System & reserved.
The figures can take time to refresh, especially after a large update or when the drive contains many files, so allow the page to finish its analysis before deciding what to remove.
The capacity bar in File Explorer provides a second view.
Open File Explorer, select This PC and inspect the system drive, usually C.
If the drive is nearly full, note its total capacity and available space before making changes.
This baseline helps you judge whether a cleanup action produced a meaningful result and whether the recovered capacity is sufficient for an upcoming Windows update.
Read the categories
The Storage page groups files by their location and purpose, but a category name does not automatically mean every item inside it is disposable.
Temporary files can include caches and update leftovers, while Other may contain application data, project folders, virtual machines or files that Windows cannot classify more precisely.
Installed apps can also include large games, development environments and software packages that you still need.
Open each category before selecting a cleanup action.
Pay particular attention to System & reserved.
This category includes Windows system files and reserved storage, which supports system operations and updates.
Its size is not a target for manual deletion.
A large number in this category does not prove that Windows has accumulated junk, and deleting files from protected system folders can break servicing or prevent the computer from starting.
Check large files
File Explorer can reveal large personal files without relying on third party cleanup utilities.
Open Documents, Downloads, Videos and Pictures, switch to Details view, then sort by Size.
Review the largest items individually and check whether they are originals, backups, exported videos, installation packages or duplicate copies.
A large file is not unnecessary simply because it occupies several gigabytes.
For a broader view, use Settings under System, Storage, and inspect the categories that Windows identifies as large or unused.
Cleanup recommendations can surface large files, rarely used applications and files already synced to a cloud service.
Review the location and purpose of each recommendation before removal.
This inspection stage often identifies more useful targets than a general cleanup utility that deletes files based only on age or file type.
Remove disposable files
Temporary files are the lowest risk place to begin, provided you inspect the selected categories.
Windows uses temporary storage for update processes, application caches, diagnostic reports and other short lived data.
Some items can be removed safely after their task has finished, while others may still be in use.
Close applications and allow pending updates to complete before starting a cleanup.
Open Settings, select System, Storage, then Temporary files.
Windows scans the drive and presents categories with estimated sizes.
Select only the categories you understand, then choose Remove files.
The list differs between devices because it depends on installed components, update history and available temporary data.
Check the estimated space before confirming the action, and do not select Downloads merely because it appears in the same list.
Review each category
The following categories commonly appear in Windows 11 cleanup screens.
Their contents and availability can vary by device, so treat the descriptions as a guide rather than an instruction to select everything.
Temporary files: Usually disposable application and system data, although files currently in use may remain unavailable for removal.
Delivery Optimization Files: Cached update content that Windows can download again when required, so removing it does not uninstall installed updates.
 4.5Antivirus
Avast Antivirus
4.5Our Avast Antivirus review tests malware protection, real world performance, and pricing. See if this security suite with its excellent free plan is right for …
- Excellent independent lab test scores
- Strong free version available
- Frequent upgrade prompts in free
- VPN is not the fastest
Thumbnails: Cached previews of pictures and videos; Windows recreates them as folders are opened.
Windows error reports: Diagnostic files generated after application or system failures, which may be useful if you are investigating a recurring problem.
DirectX Shader Cache: Recreated graphics data used by applications and games; the first launch after cleanup may rebuild some cached content.
Recycle Bin: Deleted files that remain recoverable until the bin is emptied, so inspect its contents before removal.
Windows Update Cleanup can recover space after older update components become unnecessary.
However, the Previous Windows installation(s) category deserves special attention because it can contain Windows.old, which supports returning to the previous Windows version after an upgrade.
Removing it gives up that rollback option.
Microsoft explains that this recovery path is available only for a limited period after an upgrade, commonly ten days, so keep the previous installation if you may need to revert.
Use Disk Cleanup
Disk Cleanup remains available in Windows 11 and can remove system files that are not always obvious in the Storage interface.
Open Start, search for Disk Cleanup and launch the desktop utility.
Select the system drive, usually C, and wait for the scan to finish.
Review the categories, then choose Clean up system files to run a deeper scan with administrator privileges.
The second scan may expose Windows Update Cleanup, previous Windows installation files and other system categories.
Read the description for each item before selecting it.
The tool reports an estimated amount of recoverable space, but the final result can differ after Windows completes the cleanup.
Select OK and confirm Delete Files only when the chosen categories match what you intend to remove.
Automate routine cleanup
Storage Sense can maintain free space by removing selected temporary files and managing the Recycle Bin according to rules you choose.
It is useful on computers where temporary data accumulates regularly, but its default behavior is deliberately limited.
Microsoft states that Storage Sense is off by default, and its standard configuration does not automatically manage Downloads or cloud files unless you change those settings.
Review the rules before enabling automatic cleanup.
Configure Storage Sense
Open Settings, go to System, select Storage, then open Storage Sense.
Turn on the feature and review the available controls before choosing how often it runs.
The options can vary with the Windows version and account configuration, but the main controls cover temporary files, the Recycle Bin, Downloads and locally available cloud content.
Choose a schedule: Under Run Storage Sense, select a frequency that suits how often the computer accumulates temporary data.
Running it when free space is low is a conservative choice if you prefer Windows to act only when necessary.
Set Recycle Bin retention: Choose how long deleted files remain in the Recycle Bin before Windows removes them.
A longer period gives you more time to recover mistakes, while a shorter period can reclaim space sooner.
Protect Downloads: Leave the Downloads cleanup rule disabled unless you have a reliable habit of moving important files elsewhere.
A file can remain useful even if it has not been opened for several weeks.
Review cloud settings: If OneDrive is connected, decide when inactive locally available files can become online only.
Files marked Always keep on this device are exempt from this automatic change.
Run the cleanup: Use the Run Storage Sense now option if available, then return to Storage to check whether the available capacity has increased.
Storage Sense works on the system drive, usually C, rather than serving as a universal cleanup tool for every connected disk.
To inspect another internal drive, open Settings, System, Storage, Advanced storage settings, then Storage used on other drives.
Choose the relevant volume and review its categories separately.
This distinction matters on desktops and workstations where applications, project files and media libraries are split across multiple drives.
Keep cloud files online
OneDrive Files On-Demand can reduce local storage use without deleting the cloud copy of a document.
An online only file appears in File Explorer but does not occupy the space required by a full local copy.
Opening it downloads the content when an internet connection is available.
This is particularly useful for large document libraries, archived project folders and shared work files that you need to access occasionally.
Use Files On-Demand
Confirm that OneDrive is signed in and syncing before changing file availability.
Select the OneDrive cloud icon in the notification area, open Help and Settings, choose Settings, then expand Advanced settings under Sync and back up.
Check that Files On-Demand is enabled.
If the option is unavailable, confirm that the OneDrive client is up to date and that organizational policies do not prevent its use.
In File Explorer, open the OneDrive folder and identify files or folders that do not need to remain available offline.
Right click the selected item and choose Free up space.
The file remains visible in the folder, but its local content is removed and the cloud copy remains available through OneDrive.
To reverse the change, open the file while connected or choose Always keep on this device if it must remain accessible without internet access.
The status icons matter because they show where the file content resides.
A blue cloud indicates an online only item, a green check indicates a locally available item, and a green circle with a white check indicates an item marked for permanent local availability.
Do not confuse Free up space with Delete.
Deleting a synced file can remove it from OneDrive and other synced devices, while making it online only preserves the cloud copy.
For business accounts, confirm that the files have completed synchronization before using this method.
A pending upload or sync error can mean the cloud copy is incomplete.
Also consider whether staff need access while travelling, at customer sites or in locations with unreliable connectivity.
Keep frequently used operational documents available offline, and reserve online only status for content that can safely wait for a download.
Move storage elsewhere
Moving files to another physical drive or a trusted external device can preserve their contents while reducing pressure on the Windows system volume.
This is often the most practical approach when a laptop has a small internal SSD and a large collection of videos, archives, virtual machine images or project backups.
Avast Antivirus
Our Avast Antivirus review tests malware protection, real world performance, and pricing. See if this security suite with its excellent free plan is right for …
- Excellent independent lab test scores
- Strong free version available
- Frequent upgrade prompts in free
- VPN is not the fastest
A second internal drive offers convenient access, while an external drive is better suited to files that do not need to remain connected every day.
Keep a separate backup for important data rather than treating a single external disk as the only copy.
Relocate personal folders
Windows allows supported personal folders to use another storage location.
In File Explorer, right click Documents, Downloads, Pictures, Music or Videos, open Properties, then select the Location tab.
Choose Move and select a destination folder on the other drive.
Windows will ask whether to move the existing files to the new location; confirm only after checking that the destination has sufficient capacity and is backed up.
Moving a folder is different from copying individual files.
Windows updates the folder location so applications and system features that use the known folder can continue to find it.
If the destination drive is removable, however, the folder may become unavailable whenever that drive is disconnected.
For laptops, use an internal secondary drive or leave frequently accessed folders on the system drive.
Change future save locations
Windows can direct new content to a different drive, reducing the rate at which C fills up again.
Open Settings, select System, Storage, then Advanced storage settings and Where new content is saved.
Choose a suitable drive for new documents, music, photos, videos, maps and applications where the relevant option is available.
The categories shown depend on the Windows edition and installed drives.
This setting does not automatically move existing files or every application's data.
Some desktop programs continue to use their own installation and download preferences, so check those settings separately.
For example, a browser may still save downloads to the original Downloads folder, while a video editing application may store caches and exported projects in its own configured locations.
Change the application preferences where necessary and verify the destination with a small test file before relying on it.
Reduce application storage
Installed applications can consume more space than personal files, particularly games, development tools, creative suites and virtual machine software.
Open Settings, select Apps, then Installed apps.
Change the sorting option to Size so that the largest installations appear first.
Review the publisher, purpose and last use of each application before removing anything.
Uninstall software through Settings rather than deleting its folder from Program Files.
The uninstall process can remove registered components, services, shortcuts and shared files in a controlled way.
Deleting an application directory manually can leave services, registry entries and update components behind, while breaking the software's uninstall routine.
For applications managed by an organization, confirm that the program is not required for security, remote access, device management or business operations.
Some applications offer a repair, reset or storage management option under Advanced options.
Use these controls only when you understand their effect, because Reset can remove local application data and settings.
Games and creative applications may also store large libraries or caches outside their main installation directory.
Check the application's own storage settings before assuming that uninstalling it will recover every related file.
Inspect system files carefully
Some of the largest folders on a Windows drive are part of the operating system.
Their size can look excessive in File Explorer, but their contents support updates, recovery, drivers and normal Windows operation.
Manual deletion from Windows, ProgramData, Program Files, System32 or the component store is unsafe.
Use the relevant Windows maintenance tool instead of taking ownership of protected folders or deleting files by hand.
Understand WinSxS
The WinSxS folder stores Windows components used for servicing, repairing system files and managing updates.
File Explorer can report an inflated size because Windows uses hard links, which allow the same file data to appear in more than one directory listing without occupying an equivalent amount of additional disk space.
Microsoft provides DISM analysis to report the component store's actual size and indicate whether cleanup is recommended.
To inspect it, open Terminal or Command Prompt as administrator and run the component store analysis command:
Dism.exe /Online /Cleanup-Image /AnalyzeComponentStore
Review the result for the actual component store size and the cleanup recommendation.
If Windows reports that cleanup is recommended, use the supported component cleanup process rather than deleting files manually.
The operation can remove superseded components, which may reduce the ability to roll back certain updates.
Leave the component store alone if Windows does not recommend cleanup or if you are unsure about the consequences.
Manage hibernation
The hidden hiberfil.sys file stores system memory data required for hibernation and certain power features.
Its size depends on the hibernation configuration and installed memory, so it can occupy several gigabytes on some computers.
Removing it manually is not supported.
Windows provides a power configuration command to disable hibernation and remove the file as part of that change.
Only consider this option if you never use Hibernate and understand the effect on power management.
Open Terminal or Command Prompt as administrator and run the following command:
powercfg.exe /hibernate off
This disables hibernation and removes the hibernation file.
Hibernate will no longer be available, and hybrid sleep will not work.
Microsoft warns that disabling hibernation can result in data loss if a power failure occurs while hybrid sleep is enabled.
To restore the feature later, run powercfg.exe /hibernate on from an elevated terminal.
Preserve restore points
System Restore uses storage for restore points that can return system files, drivers and settings to an earlier state.
Those snapshots can occupy significant capacity, especially if Windows has accumulated several restore points.
Deleting them may recover space, but it also removes recovery history that could help after a faulty driver or software installation.
To inspect the allocation, search for Create a restore point from Start and open System Properties.
Select the system drive, choose Configure and review the current disk usage and maximum allocation.
You can reduce the maximum amount of space reserved for restore points, but Windows may delete older restore points to comply with the new limit.
Avoid disabling System Protection merely to gain capacity on a work computer or a machine where recovery options matter.
Avoid risky shortcuts
Third party cleanup applications often promise to remove hidden junk, repair the registry or recover large amounts of storage with one scan.
Many of these tasks are already covered by Windows tools, and an aggressive cleaner can remove browser data, application settings or files that a user still needs.
Prefer Storage Sense, Disk Cleanup and application uninstallers for routine maintenance.
If a specialist tool is necessary, verify its publisher, review exactly what it will remove and avoid automatic registry cleaning.
Several locations deserve particular caution because they can contain active user or system data:
AppData: Stores application profiles, settings, caches and local databases.
Some cache folders are safe to rebuild, but deleting the entire directory can remove email data, browser profiles and application configurations.
ProgramData: Holds shared application data and service information.
Removing folders here can break software used by multiple Windows accounts.
Windows Installer: Contains installation data used to update, repair and remove programs.
Deleting files manually can prevent applications from being serviced correctly.
Page file: Supports virtual memory and crash reporting.
Disabling or shrinking it to recover space can cause memory errors or limit diagnostic information.
4.5AntivirusAvast Antivirus
4.5Our Avast Antivirus review tests malware protection, real world performance, and pricing. See if this security suite with its excellent free plan is right for …
- Excellent independent lab test scores
- Strong free version available
- Frequent upgrade prompts in free
- VPN is not the fastest
WinSxS: Contains Windows components required for system servicing.
Manual deletion can damage Windows and prevent future updates.
The same caution applies to registry cleaners and duplicate file finders.
Two files with identical names are not necessarily duplicates, and files with identical content can be required in separate application directories.
If a duplicate finder is used, compare full paths and file details, then confirm that neither copy belongs to an active application or backup process.
Keep the original until the replacement has been tested.
Keep the drive from filling
A one time cleanup can provide breathing room, but the system drive may fill again if new files and application data continue to accumulate in the same location.
Review the default save paths for browsers, backup software, development tools and media applications.
Large downloads, virtual machine disks, local database files and video exports are common sources of recurring storage pressure.
Set applications to use a suitable secondary drive when their workload does not require the system volume.
Windows updates also need temporary working space.
If an update cannot proceed because the internal drive is too full, Microsoft supports using an external storage device for certain update operations.
Its guidance specifies at least 10 GB of free space on the external device, together with an internet connection.
Connect the device, open Settings, select Windows Update and use Fix issues if Windows presents that option.
Back up important files before starting, and remember that an external device does not remove every internal storage requirement.
If the Temp folder fills again soon after cleanup, investigate the application or service that recreates its contents.
Microsoft documents a particular case in which Microsoft Store application package files can rapidly refill the Temp folder after Cleanup recommendations has been used.
The suggested response includes running the Windows Store Apps troubleshooter, clearing the Store cache with the built in reset command and running the Windows Update troubleshooter.
A recurring low space warning deserves diagnosis rather than repeated deletion of the same temporary files.
A practical maintenance routine is to check Storage once a month, review Cleanup recommendations, remove disposable temporary data and confirm that cloud synchronization has completed.
Keep a separate backup of important documents and verify that it can be opened.
If the drive continues to lose free space without an obvious change in usage, inspect application data, backup snapshots and update activity before attempting deeper system cleanup.
Frequently Asked Questions
Does deleting temporary files remove saved documents?
Is it safe to delete Windows.old?
Why does Windows show less free space than expected?
Can I use an external hard drive for Windows updates?
Should I disable System Restore to gain storage?
Sources3
- World Programming on Storage Sense scheduling
- Dell on Windows disk space cleanup
- TechRepublic on Windows 11 cleanup tools
External pages are independent third-party sources. Desking App does not control or endorse their content and accepts no responsibility for it. Visiting them is at your own responsibility and risk.